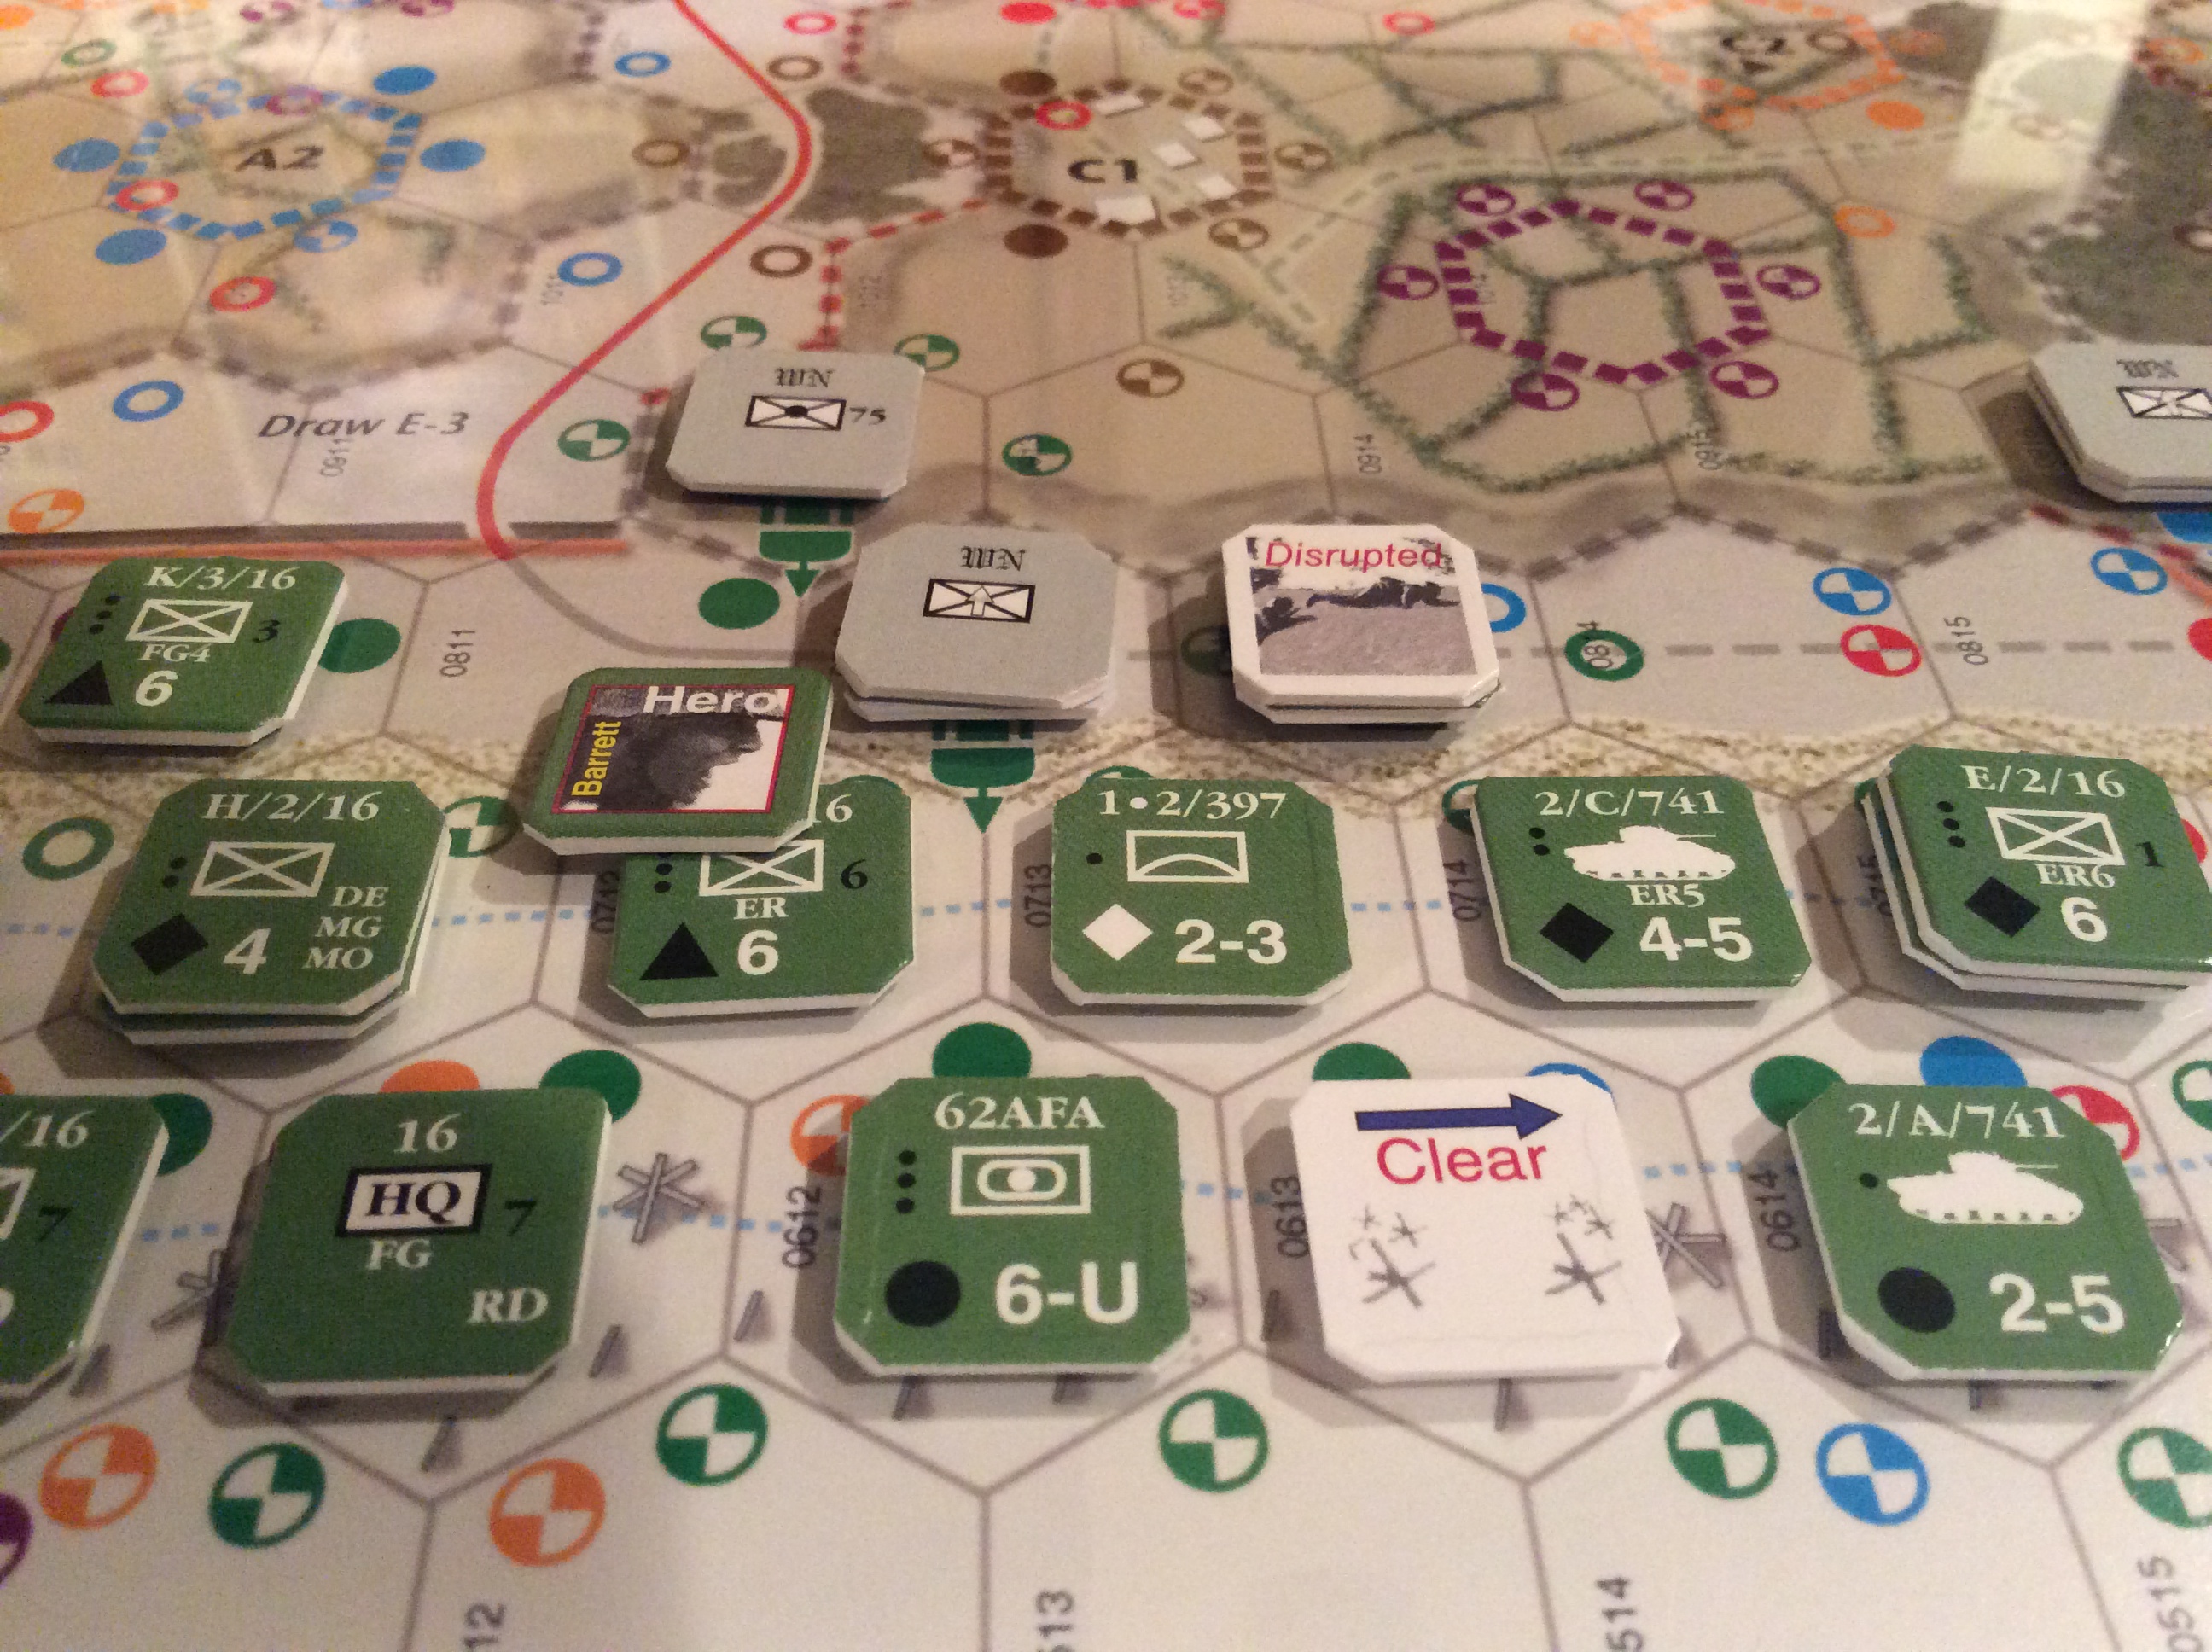
A hero is born, but there is much to be overcome in order to secure the draw (E-3) that lies ahead (upper-left corner of pic). At this point in the game, I haven’t yet taken out the fortifications overlooking the beach, and the Germans remain hidden. Many of the units pictured have already taken fire and are either disrupted or have lost steps.
I received D-Day at Omaha Beach over the holidays this year. I’ve played through the introductory scenario “Easy Fox” twice now, with fairly good success the second time around. As this is a solitaire game, I didn’t quite know what to expect in terms of enemy A.I., and the whole system is “diceless” and uses cards for activation, which were all a curiosity of mine. How do you not use dice for combat? What happens to the uncertainty factor?
Well the short answer to that is that D-Day at Omaha Beach is all about the challenge of coordinating your units and trying your best to bring the right weapons along for each attack. For example, in the photo above, you see the German “WN” position located to the left of my disrupted infantry unit. When you flip that counter over you learn that it is a German infantry unit with a value of “2” (it could be anything from 1-4), but besides its strength, the counter is marked with a “BR” for Browning Automatic Rifle and “BZ” for Bazooka. Unless your attacking units can bring these two weapon types to the fight, the best you will do is disrupt the Germans hiding there. As most units have steps, the more steps you lose in combat, the fewer weapons you will have. A full strength infantry unit has bazookas, bangalore torpedoes, browning automatic rifles, demolitions, mortars and a radio. You may have a mortar along when you’re full strength, but it may be gone when you lose a step.
As designer John H. Butterfield writes, “Will C Company have the demo charges needed to take out that tobruk or were they left on the beach?”
Ultimately you refer to tables to carry out your attacks, comparing your strength against the unit. Due to the hidden units aspect to the game, the first attack against a German position always brings with it some uncertainty about what lies within, plus many positions also have depth markers boosting their combat strength. You may think you have enough points, but when you double the defender’s strength because they are in bocage and then reveal the depth marker, you will find yourself being off the mark more often than you may care to admit. Add to the that the weaponry requirements, and there is plenty of variability in the combat system. Results can have you losing steps, becoming disrupted, Germans can become disrupted, lose their depth markers or be eliminated outright.
Butterfield writes, “There are so many variables built into the US attacks and German defenses that the dice variable is not needed.” I couldn’t agree more.
Incidentally, German attacks are handled by cards and symbols. Do you see that orange-colored position labeled WN 61 in the photo below? Before I took it out, there was a German unit there, and when I drew the color orange, the orange position fired. It fired on a symbol, such as that 7-2 infantry unit with the triangle. Draw orange with a triangle, and that 7-2 unit is getting hit! The different orange circular symbols you see below represent different levels of fire intensity.
Okay, that’s enough for now, I’m going to set up a larger introductory scenario that covers the whole board. I hope to post more soon.
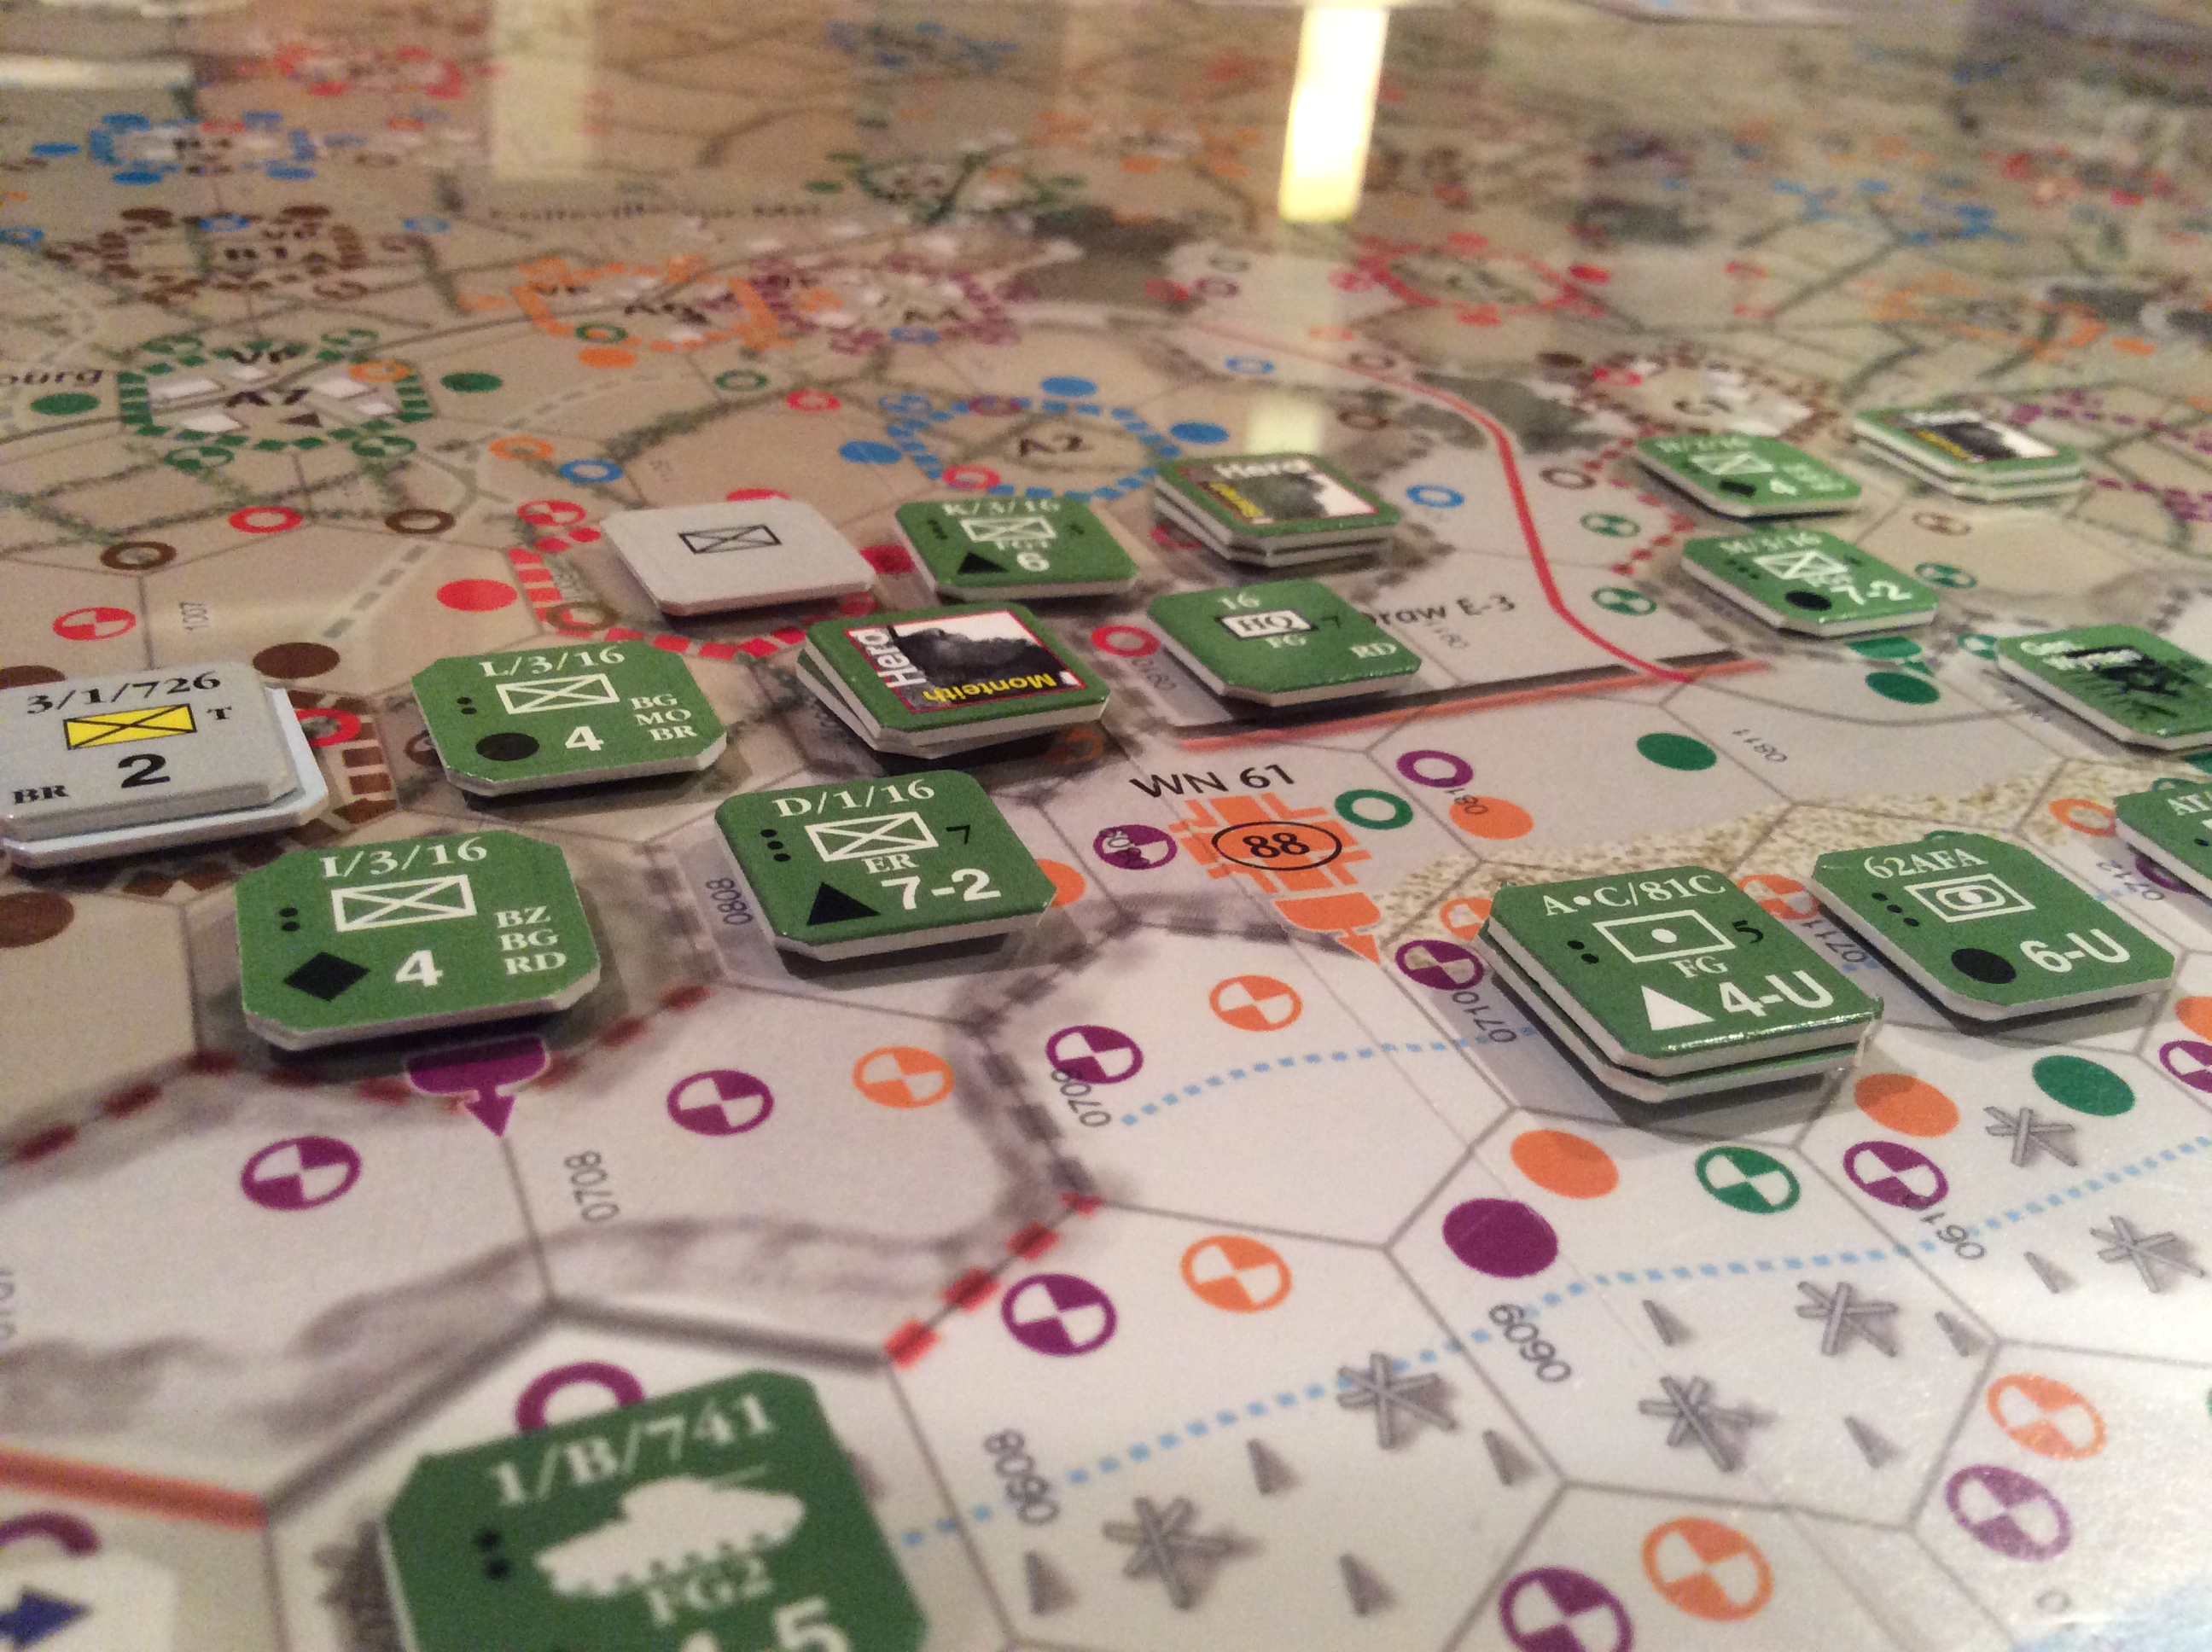
Later in the game and east of the draw pictured above, my left flank is stalled as it enters the bocage. WN 61, the home of the dreaded 88, has thankfully been taken out, and with some additional heroes appearing, an HQ unit, and a general arriving recently, I anticipate punching up the draw and securing it quickly before the Germans can react.
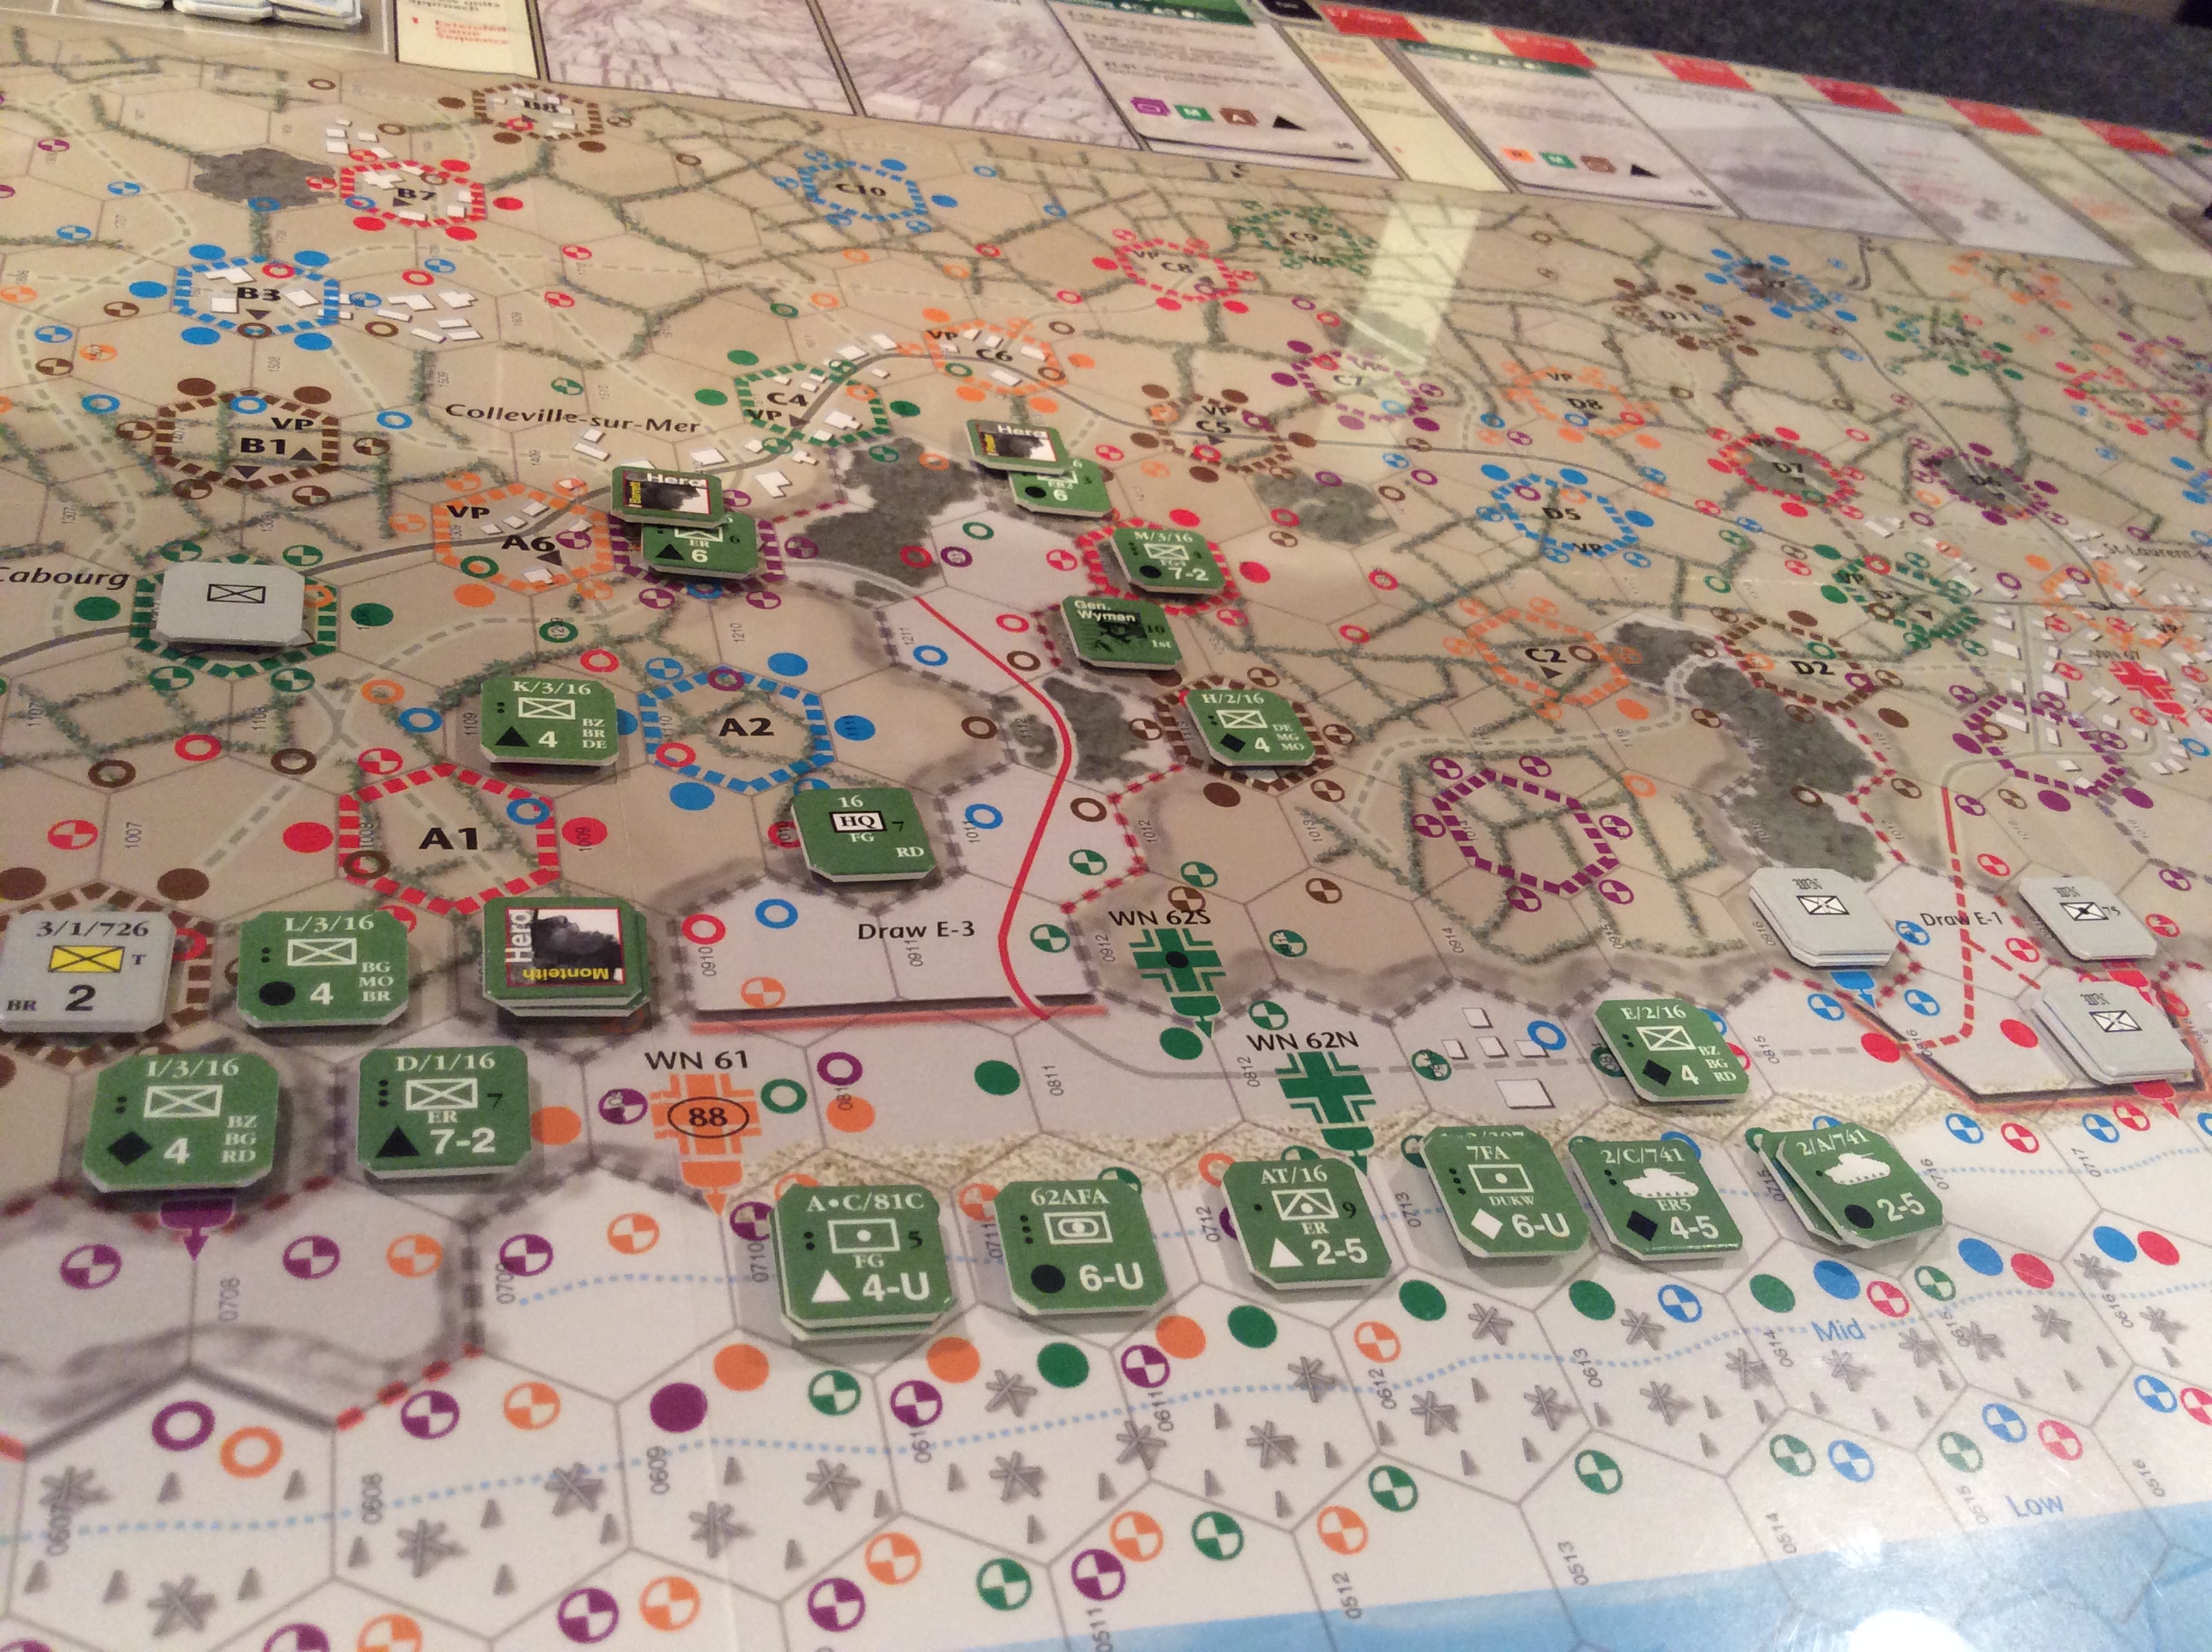
The end of the scenario shows a great deal of success in my plan to push forward fast and hard, bypassing hard points on the right entirely, and being content with some ongoing heavy resistance on the left flank. They just kept reinforcing that brown-colored position, and I couldn’t get around them to block their supply!
Categories: Odds & Ends, Warfare

Leave a comment